Article created by Tom Bergfeld.
Are you interested in receiving an email if a special Windows event would not appear?
This guide will show you step by step how to configure the product.
Please note that this guide is valid for EventReporter and MonitorWare Agent.
In our example we want to get an email if the event ID 100 does not appears within 5 minutes. Of course you can adjust the filter conditions in your configuration to your preferred event ID, event message etc.
General information about MonitorWare Agent
General information about EventReporter
1. Set up an EventLog Monitor Service
At first we set up the Event Log Monitor Service. Right click on ‘Services’ – ‘Add Service’ and choose ‘Event Log Monitor V2’. We do not have to change anything in the configuration of our Event Log Monitor service.
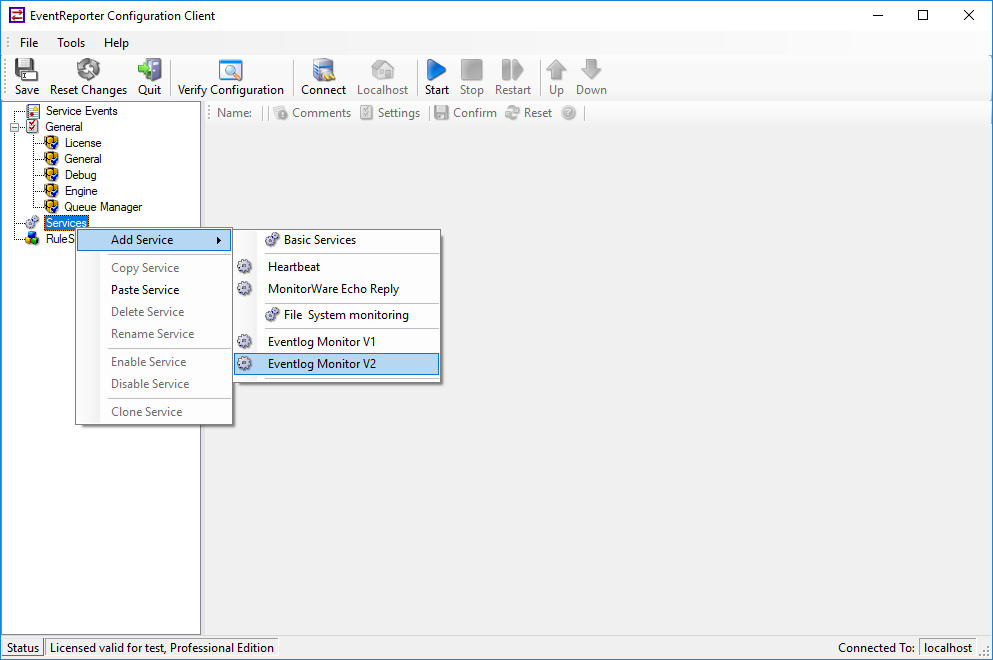
Adding an Event Log Monitor Service
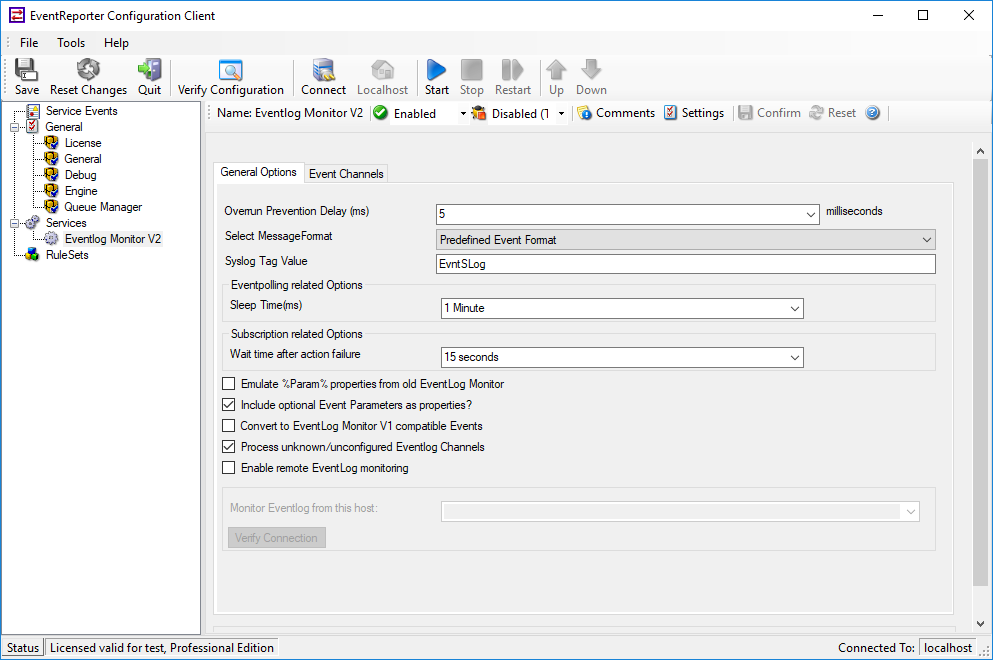
Event Log Monitor Service
2. Set up a Heartbeat Service
The second step is to setup a heartbeat service. This service is just used as timer to check if our preferred event has appeared in the predefined time. Right click on ‘Services’ – ‘Add Service’ and choose ‘Heartbeat’. In the configurations of the heartbeat service we adjust the ‘Heart beat clock’ to 5 minutes, our predefined time interval. That is all we have to change. (Of course you are able to change the settings of your message, that is created by the heartbeat. Suit yourself!)
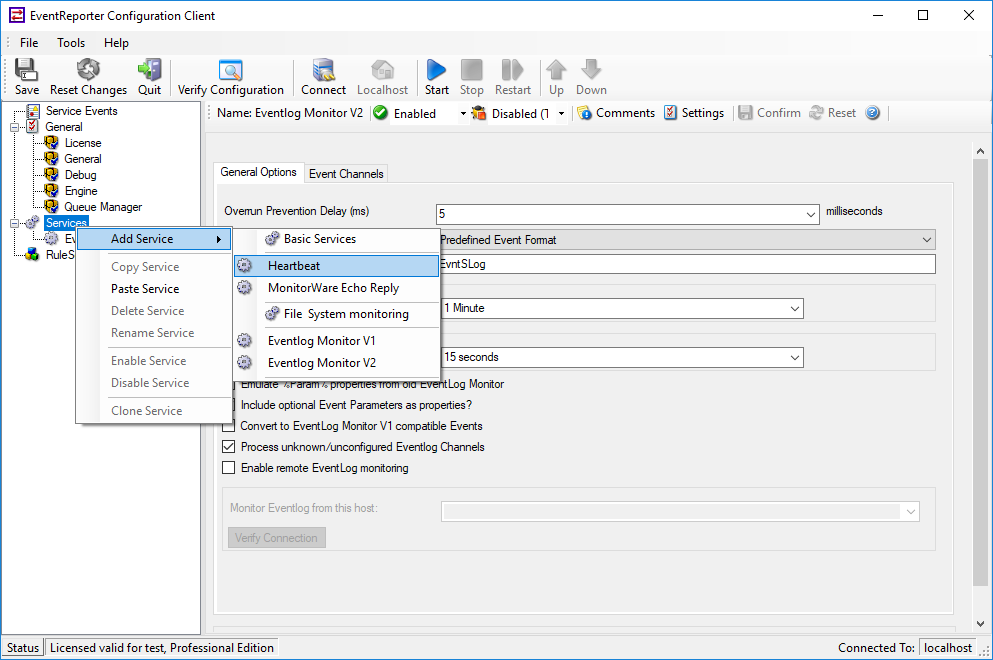
Adding a Heartbeat Service
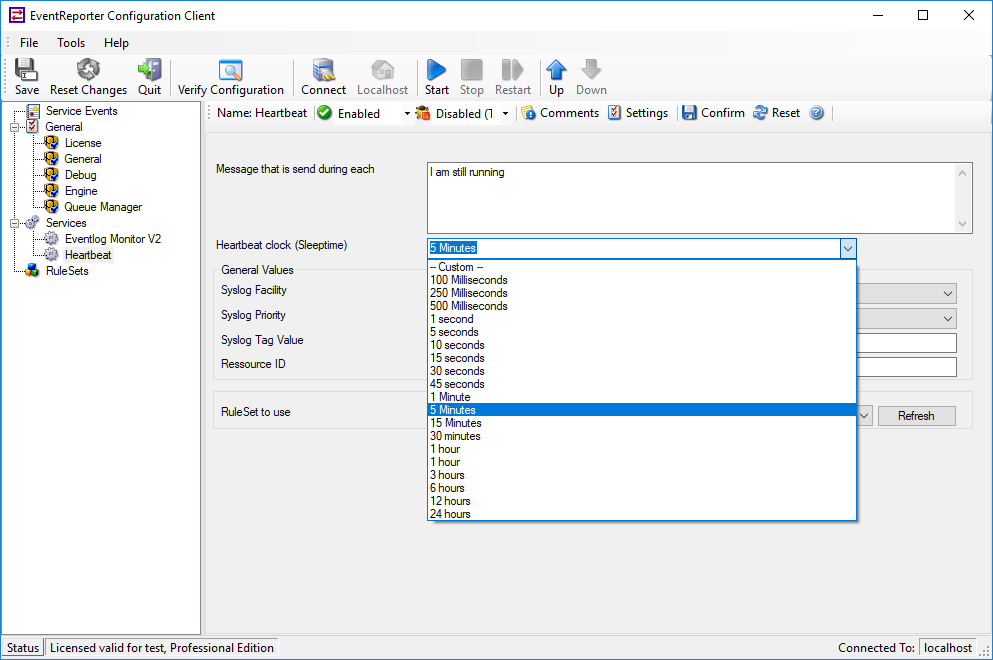
Changing time interval in Heartbeat Service
3. Check if the preferred event appears
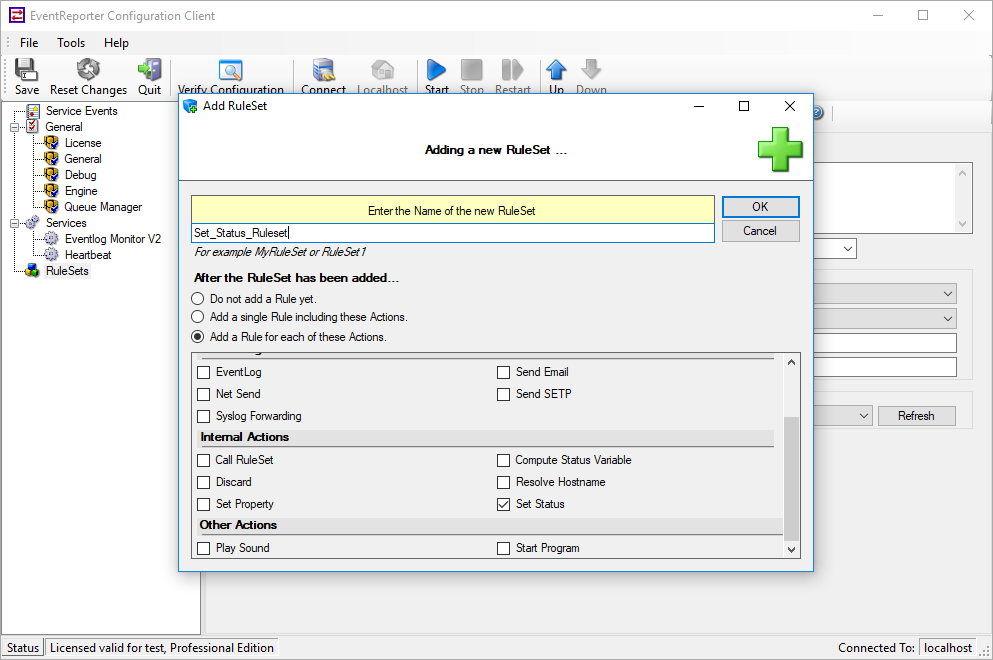
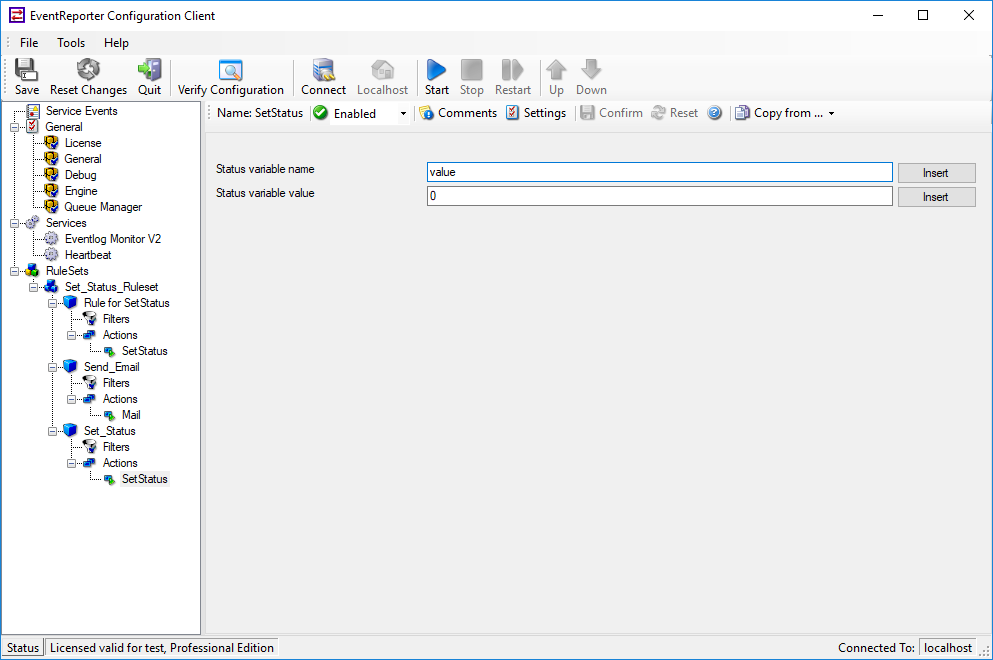
The first action we need to add to our configuration is the so called ‘Set Status’ action. Right click on ‘RuleSets’ and create a new ruleset with a rule containing a ‘Set Status’ action. With this action we can set a status if our event appears. If the event 100 appears this action shall set the status ‘Value’ to ‘1’, as on the screenshot. So after typing this in your configuration we have to add a filter condition. In the filter conditions we arrange that the status is just changed if our preferred event ID 100 appears. So we can use our created ‘value’ to see if the event appeared or not.
You will find a screenshot of the filter conditions below.
Adding a Set Status Action
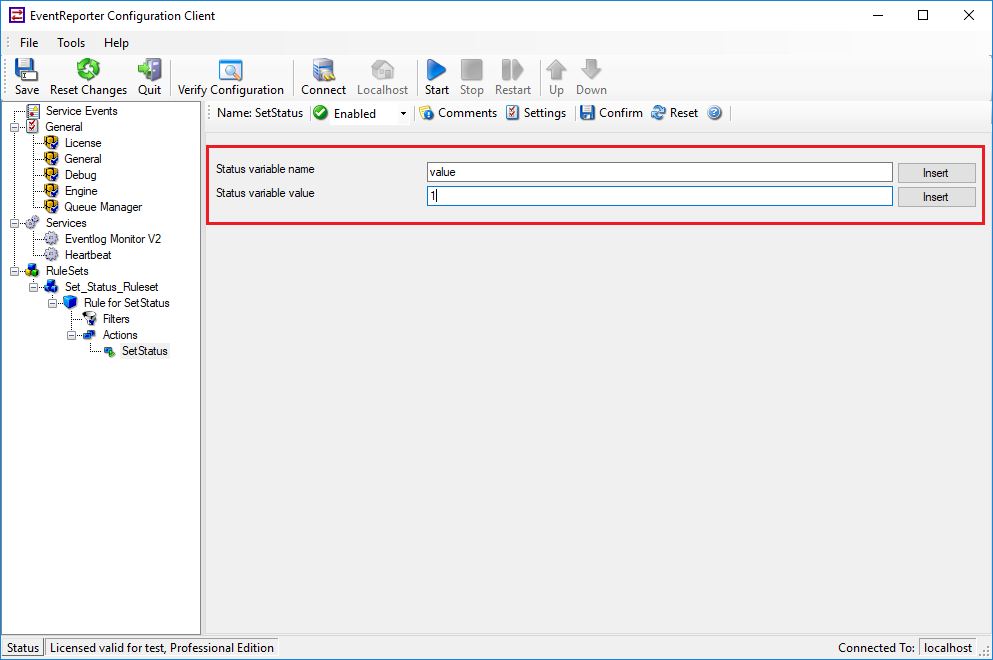
Configure Set Status Action
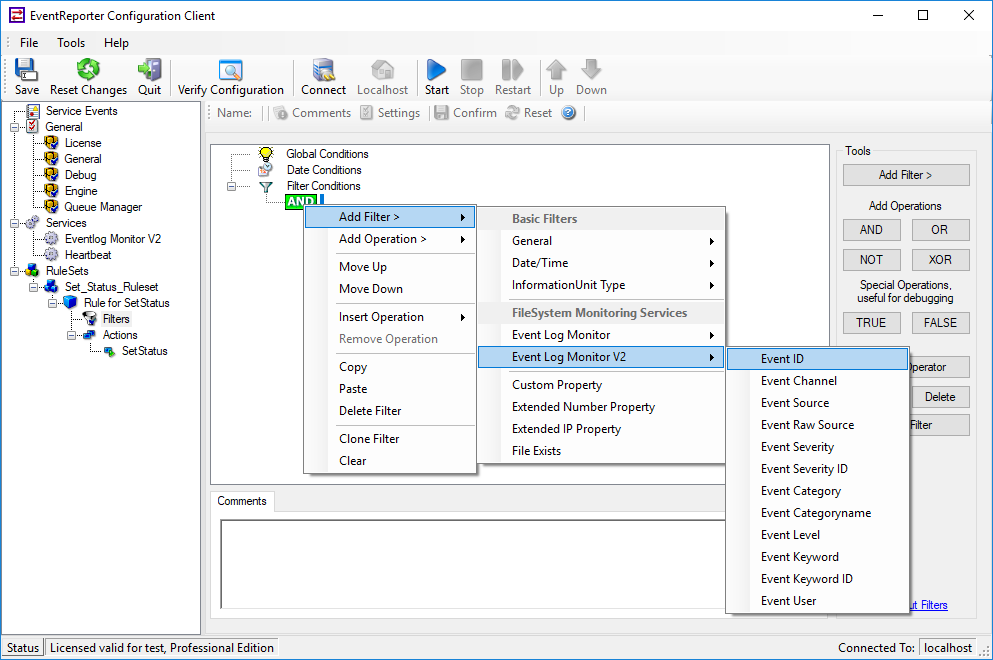
Add Filter conditions
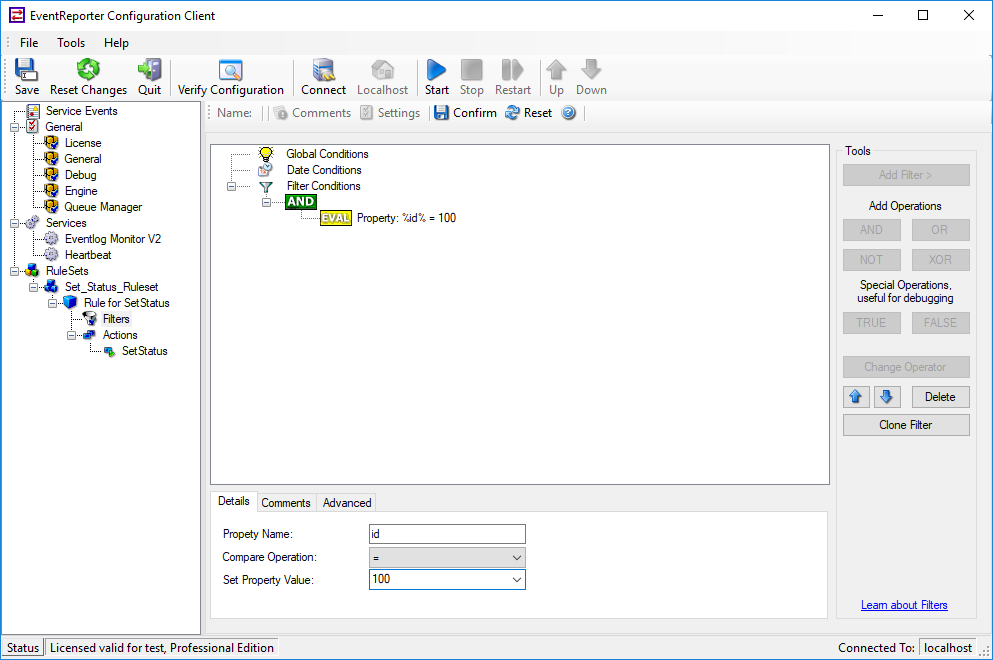
Filter Condition for one special event
4. Check status and forward an email alert
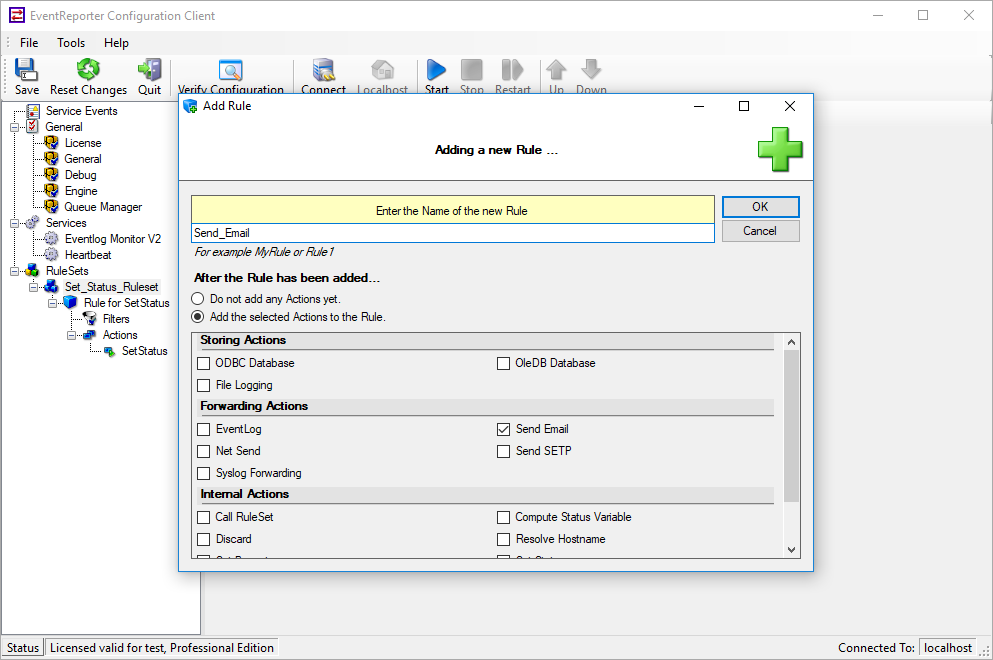
At this point we add our forwarder – the ‘forward via email’ action. At first we have to create a new Rule. That is just like adding an action. Right click on ‘Default Rule Set’ and ‘Add Rule’.
Now we can add the next action. Right click on ‘Action'(in our new rule) – ‘Add action’ – ‘Forward via EMail’ and ‘Finish’.
In the configurations of the Forward via EMail action we have to adjust some details. The marked fields have to be adjusted. Enter your email server, your email address and a clear subject. More changes are not necessary.
Adding a forward vie EMail Action

Points to configure
Of course we have to add some filter conditions. Because we just want to get an email if the event 100 does not appear within 5 minutes. Therefore we need our timer (Heartbeat message) and our created value.
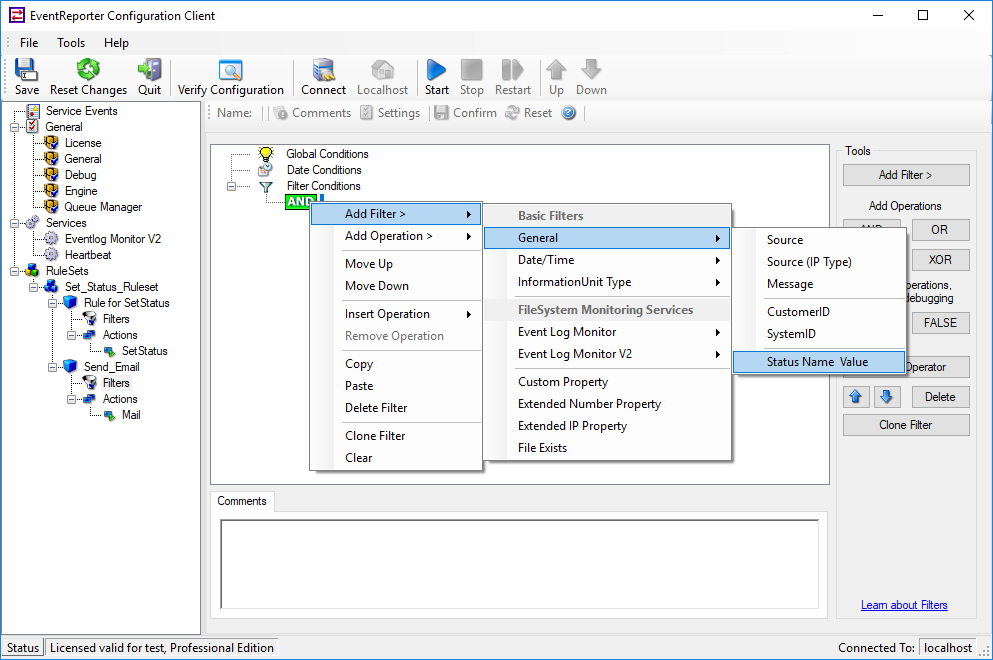
Adding Filter Conditions
Filter Conditions
5. Reset Status
At last we have to reset the status ‘value’ if event ID 100 has appeared.
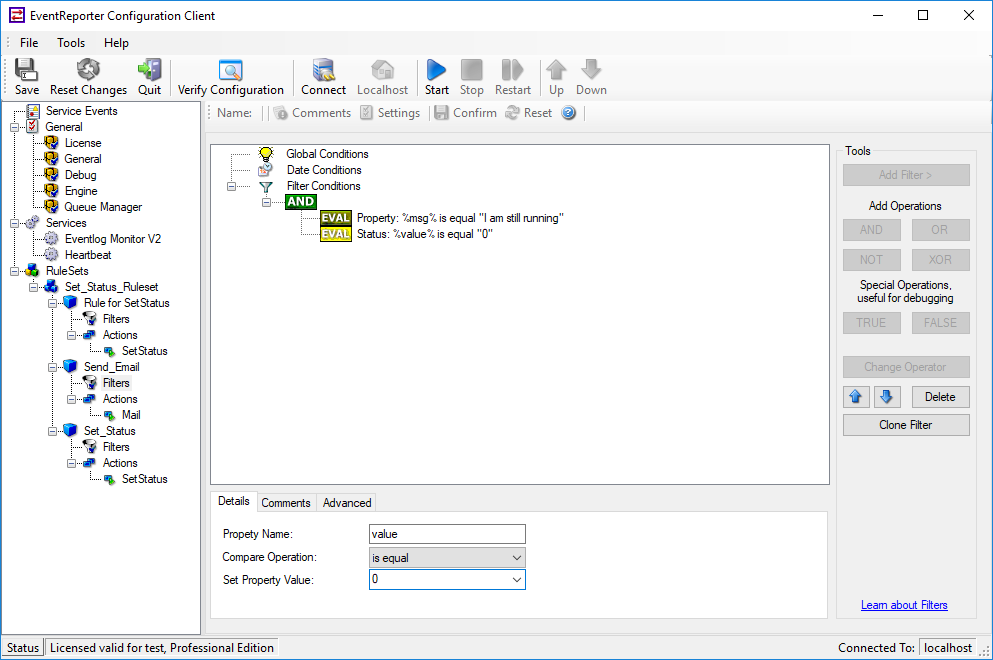
After adding a new rule, we add a new ‘set status’ action. In contrast to our first action (3.) we set the value back to 0.
Additionally we have to setup some filter conditions. The first filter is our heartbeat message (timer) again. The second condition is that the status value is ‘1’. In this way we assure that the status value is reset all 5 minutes if the event appears.
Adding a Set Status Action
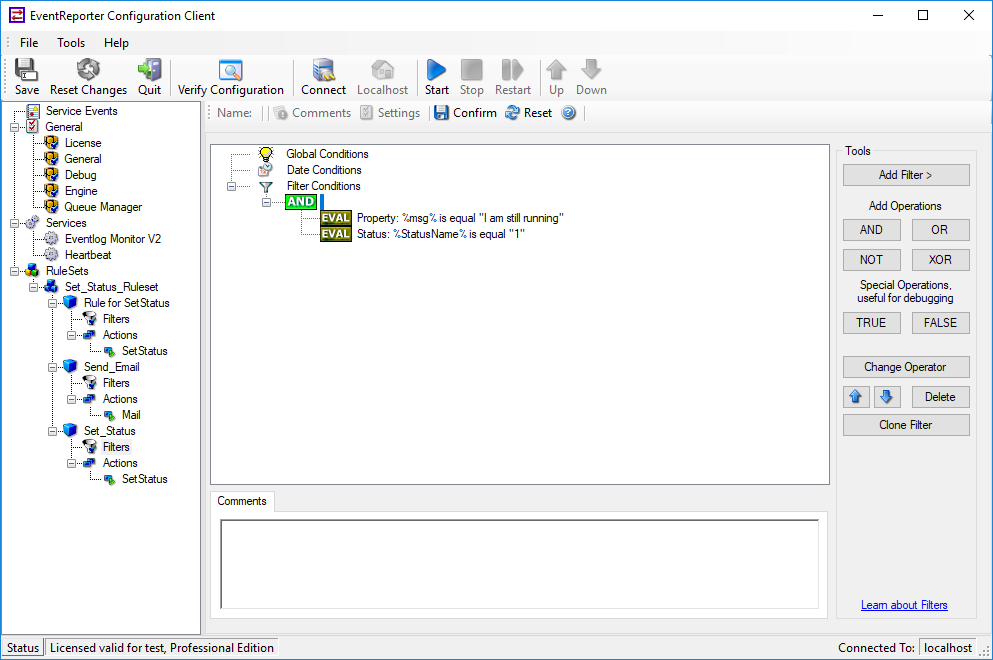
Filter Conditions